


A large-format tile can look perfectly installed on day one and still have serious weaknesses beneath it.
Poor adhesive coverage, an uneven substrate or the wrong installation method may remain unnoticed until the tile sounds hollow, develops cracks or loses its bond. By then, repairing the surface can be costly and disruptive.
Large-format and slim tiles create beautiful, seamless spaces with fewer visible joints. However, their size and reduced thickness also make installation more demanding. Getting the finish right begins with understanding what happens behind the tile.
Why Tile Size Changes the Installation
Large-format tiles cover more area with each piece. This means even a small variation in the substrate can affect how evenly the tile is supported.
If the adhesive does not make adequate contact with the back of the tile, it may leave hidden voids. These unsupported areas can become vulnerable to impact, pressure and movement.
Wall applications bring another challenge. The tile must remain in position while the adhesive sets. Without adequate sag resistance, it may shift and affect joint alignment.
Slim tiles need careful handling and consistent support because their reduced thickness can make them more sensitive to uneven surfaces.
Five Hidden Risks Behind Large Tiles
1. An uneven substrate
Large tiles cannot easily follow variations in the surface. Trying to correct major unevenness with extra adhesive can create an inconsistent bed and make alignment more difficult.
The substrate should be checked and corrected before tile installation begins.
2. Inadequate adhesive coverage
A tile may appear level even when large sections of its back are unsupported.
The adhesive should be applied evenly using the correct notched trowel. Large tiles may also require back-buttering to improve contact and reduce voids.
Site Check: Lift a tile occasionally during installation and inspect the back. This is the most practical way to confirm whether adequate contact is being achieved.
3. Adhesive skinning
Once adhesive is spread, its surface begins to dry. If a tile is placed after a skin has formed, proper contact may not develop.
Installers should spread only as much adhesive as they can cover within the available working time.
4. Tile movement on walls
Large tiles can slip after placement because of their size and weight. An adhesive for large-format tiles should offer suitable sag resistance to help maintain the tile’s position.
5. Missing movement joints
Tiles and substrates respond to temperature, moisture and structural movement. Movement and perimeter joints allow the tiled surface to accommodate these changes.
Adhesive should never be used to fill or bridge movement joints.
Common Assumptions That Can Lead to Failure
| Common assumption | What actually matters |
|---|---|
| More adhesive means a stronger installation | Correct coverage and approved bed thickness matter more |
| A premium adhesive can level the surface | The substrate must be prepared and appropriately flat |
| If the tile looks level, it is properly installed | Hidden voids may still be present |
| Large tiles only need a stronger adhesive | Flexibility, open time and sag resistance also matter |
| Joint-free installation gives a cleaner finish | Tile and movement joints are required for reliable performance |
What Should a Large-Format Tile Adhesive Provide?
A suitable large-format tile adhesive should make the installation easier to control while meeting the performance needs of the tile and substrate.
Important properties include:
- Strong adhesion
- Flexibility to accommodate movement
- Sag and slump resistance
- Enough open time for tile positioning
- Compatibility with the tile and substrate
- An appropriate adhesive bed thickness
The product should also be suitable for the intended location, whether it is an internal floor, external wall or wet area.
How LATICRETE® 335 Maxi Supports Large Tile Installation
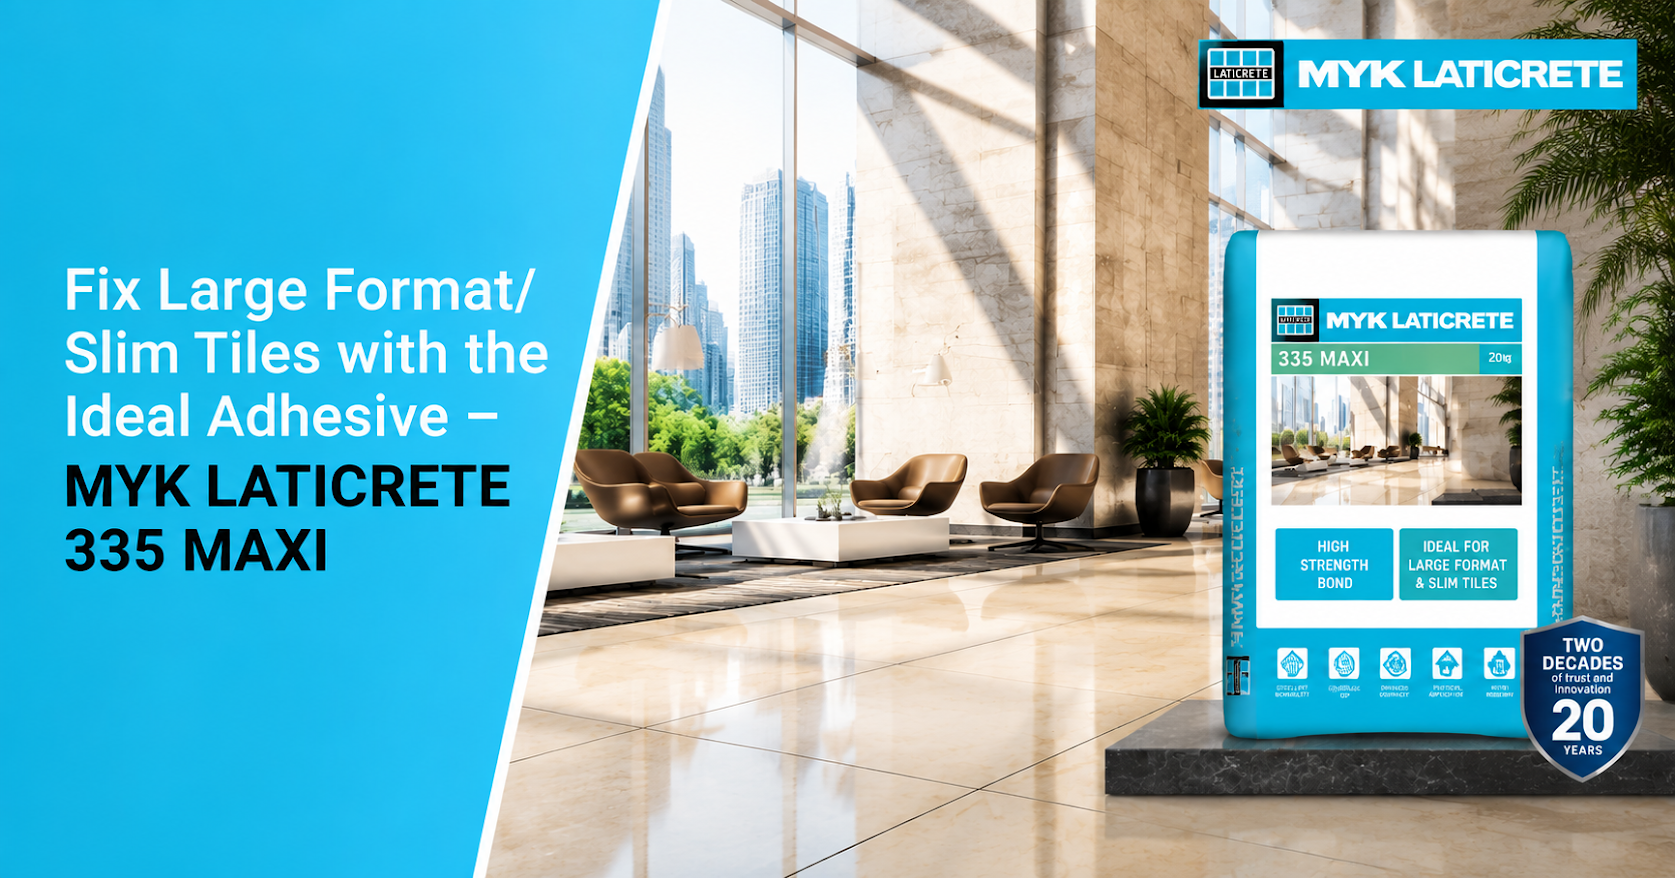
LATICRETE® 335 Maxi is a highly flexible, polymer-modified adhesive formulated for large-format and slim tiles.
Rather than looking at its specifications as numbers alone, it helps to understand what they mean during installation.
| LATICRETE® 335 Maxi Maxi feature | What it means on site |
|---|---|
| 40-minute open time | Gives installers more time to position and adjust large tiles |
| Sag resistance | Helps tiles remain in position during wall installation |
| Slump resistance | Helps maintain the intended adhesive bed |
| S1 flexibility | Helps the installation accommodate substrate movement |
| Bed thickness up to 18 mm | Supports approved large-format installation requirements |
| Grey and white options | Allows selection based on the tile and desired finish |
LATICRETE® 335 Maxi is classified as C2TES1 under EN 12004 and ISO 13007, and as Type 4 TS1 under IS 15477:2019.
It is designed for approved interior and exterior floor and wall applications, including wet areas such as swimming pools and saunas. The latest technical data sheet should always be checked before use.
The Right Way to Install Large-Format Tiles
Begin with a flat, stable surface
The substrate should be properly cured, structurally sound and free from dust, grease, paint and loose material.
Large-format tiles highlight surface variations, so substrate preparation should not be treated as a minor step.
Mix the adhesive as specified
Use the water quantity and mixing method stated in the current product data sheet. Adding extra water to improve workability can change the intended consistency of the adhesive.
Comb the adhesive in one direction
Apply the adhesive using the recommended notched trowel and comb it into straight, parallel ridges. This allows air to escape more easily when the tile is pressed into place.
Back-butter the tile
Apply a thin coat of adhesive to the back of the large tile where required. This helps fill surface variations and improves contact.
Press and move the tile into position
Place the tile while the adhesive is still fresh. Move it across the direction of the ridges and press it firmly to collapse them.
Check coverage during installation
Periodically lift a freshly installed tile and examine the back. Do not wait until the entire surface has been completed to discover a coverage problem.
Provide the required joints
Maintain appropriate tile joints and movement joints at perimeters, changes of plane and other specified locations.
What Does a Hollow Sound Under a Tile Mean?
A hollow sound does not always mean that the tile has completely failed. However, it may indicate voids or incomplete contact beneath the surface.
Unsupported areas can be more vulnerable to impact and heavy loads. They may also allow moisture to collect in certain applications.
Prevention is simpler than repair. A flat substrate, directional trowelling, back-buttering and regular coverage checks can reduce the risk of hidden voids.
The Finish Gets Noticed. The Fixing Makes It Last.
Large-format tiles are selected for their clean lines and uninterrupted appearance. Achieving that look takes careful work behind the surface.
The adhesive must offer enough time and control for installation while supporting the tile’s size, weight and exposure conditions.
With 40-minute open time, sag and slump resistance, S1 flexibility and an approved bed thickness of up to 18 mm, LATICRETE® 335 Maxi is designed to meet the practical demands of large-format and slim tile installation.
Correct product selection, substrate preparation and application technique together help create a finish that continues to perform long after installation.
Frequently Asked Questions
1. What is a large-format tile adhesive?
It is an adhesive formulated to provide the adhesion, flexibility, coverage and working time required for larger tiles. The product must also suit the substrate and installation area.
2. Can LATICRETE® 335 Maxi be used for slim tiles?
Yes. LATICRETE® 335 Maxi is formulated for approved large-format and slim tile installations.
3. Can 335 Maxi be used on walls?
Yes. Its sag and slump-resistant formulation supports approved wall and floor applications.
4. Is 335 Maxi suitable for wet areas?
It is suitable for approved wet-area applications, including swimming pools and saunas. Any waterproofing requirements should be addressed separately as part of the complete installation system.
5. Why is back-buttering important?
Back-buttering improves contact between the adhesive and the tile. It helps reduce voids and provides more consistent support behind large-format tiles.




