


Picking the right glue for your floors might not be the most exciting part of a home renovation, but it is certainly the most important. If you choose the wrong bond, even the most expensive marble or ceramic will eventually crack or pop loose.
In the past, builders used a basic mix of sand and cement. Today, technology has given us specialized formulas designed for specific surfaces and tile materials. This blog breaks down the different types of tile adhesives so you can pick the best tile adhesive for your project without the headache.
Why Traditional Mortar Isn’t Enough Anymore
Decades ago, thick beds of cement were the only way to set a floor. While it worked for a while, it had major flaws. Cement shrinks as it dries, creating hollow spaces under the tiles. If you drop something heavy on a hollow spot, the tile breaks.
Modern adhesives are polymer-modified. This means they stay slightly flexible, they don’t shrink, and they stick to surfaces that cement can’t touch, like plywood or old tiles. When you search for the best tile adhesive, you are looking for a product that handles the specific “shrink and swell” of your home’s environment.
Breaking Down the Types of Tile Adhesives
Adhesives are generally categorized by “Types” based on their chemical makeup and where they are meant to be used.
Type 1 Adhesive
This is your go-to for basic interior projects. Type 1 adhesive is designed for tiles with a higher porosity, such as standard ceramic or small clay tiles. It works best on stable internal walls and floors where there isn’t much moisture. If you are tiling a small laundry room or a backsplash in a dry area, this is usually the most cost-effective choice.
Type 2 Adhesive
When you move into bathrooms or kitchens, you need something stronger. Type 2 adhesive is formulated for low-porosity tiles like vitrified tiles or glass mosaics. Because these tiles don’t absorb water, they need a chemical bond rather than just a mechanical one. This type is also suitable for wet areas because it can handle dampness without losing its grip.
Type 3 Adhesive
Exterior projects are much tougher on materials. Type 3 adhesive is engineered to survive the outdoors. It has to deal with direct sunlight, heavy rain, and fluctuating temperatures. If you use a standard indoor glue on an outside wall, the heat will eventually cause the bond to become brittle. This type stays resilient against the elements.
Type 4 Adhesive
Tiling on “flexible” surfaces like wooden floors or gypsum board requires a specialized product. Type 4 adhesive is highly flexible. Since wood expands and contracts significantly with humidity, a rigid adhesive would simply snap. This version is designed to move with the substrate, making it the right choice for modern drywall construction.
Type 5 Adhesive
Type 5 adhesive is the heavy-hitter for non-traditional surfaces. It is specifically designed for fixing tiles or stones on glass or metallic substrates. It is also the correct choice for engineered stones and metal tiles. This adhesive provides the extreme grip needed when working with smooth, non-absorbent materials that would cause regular cement to fail instantly.
Quick Comparison Table
| Adhesive Category | Best Use Case | Key Benefit |
|---|---|---|
| Type 1 adhesive | Interior ceramic tiles | Budget-friendly and easy to apply |
| Type 2 adhesive | Vitrified tiles and wet areas | Water resistance and a strong grip |
| Type 3 adhesive | Exterior walls and facades | Weather and temperature resistance |
| Type 4 adhesive | Drywalls and wood surfaces | High flexibility for moving surfaces |
| Type 5 adhesive | Glass, metal, or engineered stone | Superior grip for non-porous surfaces |
Key Advantages of Using Tile Adhesive
Switching from traditional mortar to specialized adhesive offers several practical benefits for your home construction:
- Superior Bond Strength: Adhesives are infused with polymers that create a chemical grip, ensuring tiles stay anchored even in high-traffic areas.
- Zero Pre-Soaking: Unlike cement-sand mixes, you do not need to soak tiles in water before laying them, which saves significant time and mess.
- Thin-Bed Application: You only need a 3mm to 6mm layer of adhesive. This reduces the overall weight on the building structure and saves floor space.
- Crack Prevention: The flexibility in modern adhesives allows them to absorb minor structural vibrations and thermal expansion, preventing the tiles from cracking.
- Better Finish: Because the mixture is consistent and applied with a notched trowel, it is much easier to get a perfectly level floor without “lippage” (uneven tile edges).
How to Identify the Best Tile Adhesive for Your Job
To find the best tile adhesive for your specific home, you have to ask these questions:
- What is the tile made of? Ceramic needs less help than glass or heavy stone.
- What am I sticking it to? Concrete is easy, but plywood and metal are difficult.
- Where is it located? A shower floor needs a different level of protection than a bedroom wall.
- What is the size of the tile? Larger tiles demand a higher-performance adhesive to ensure full, even coverage and a stable bond.
For example, if you are installing large-format tiles (LFT) on a living room floor, you need a minimum S1-rated adhesive. S1 and S2 are deformability classifications where S1 adhesives are flexible enough to handle minor movement, while S2 offers even greater flexibility for more demanding substrates. Large tiles are also heavy and need a “non-slump” formula so they stay level while the glue sets.
Application Tips for Success
Even the highest quality types of tile adhesives will fail if applied poorly. Here are a few rules to follow:
- Clean the surface: Dust is the enemy of glue. Always wipe down the floor before starting.
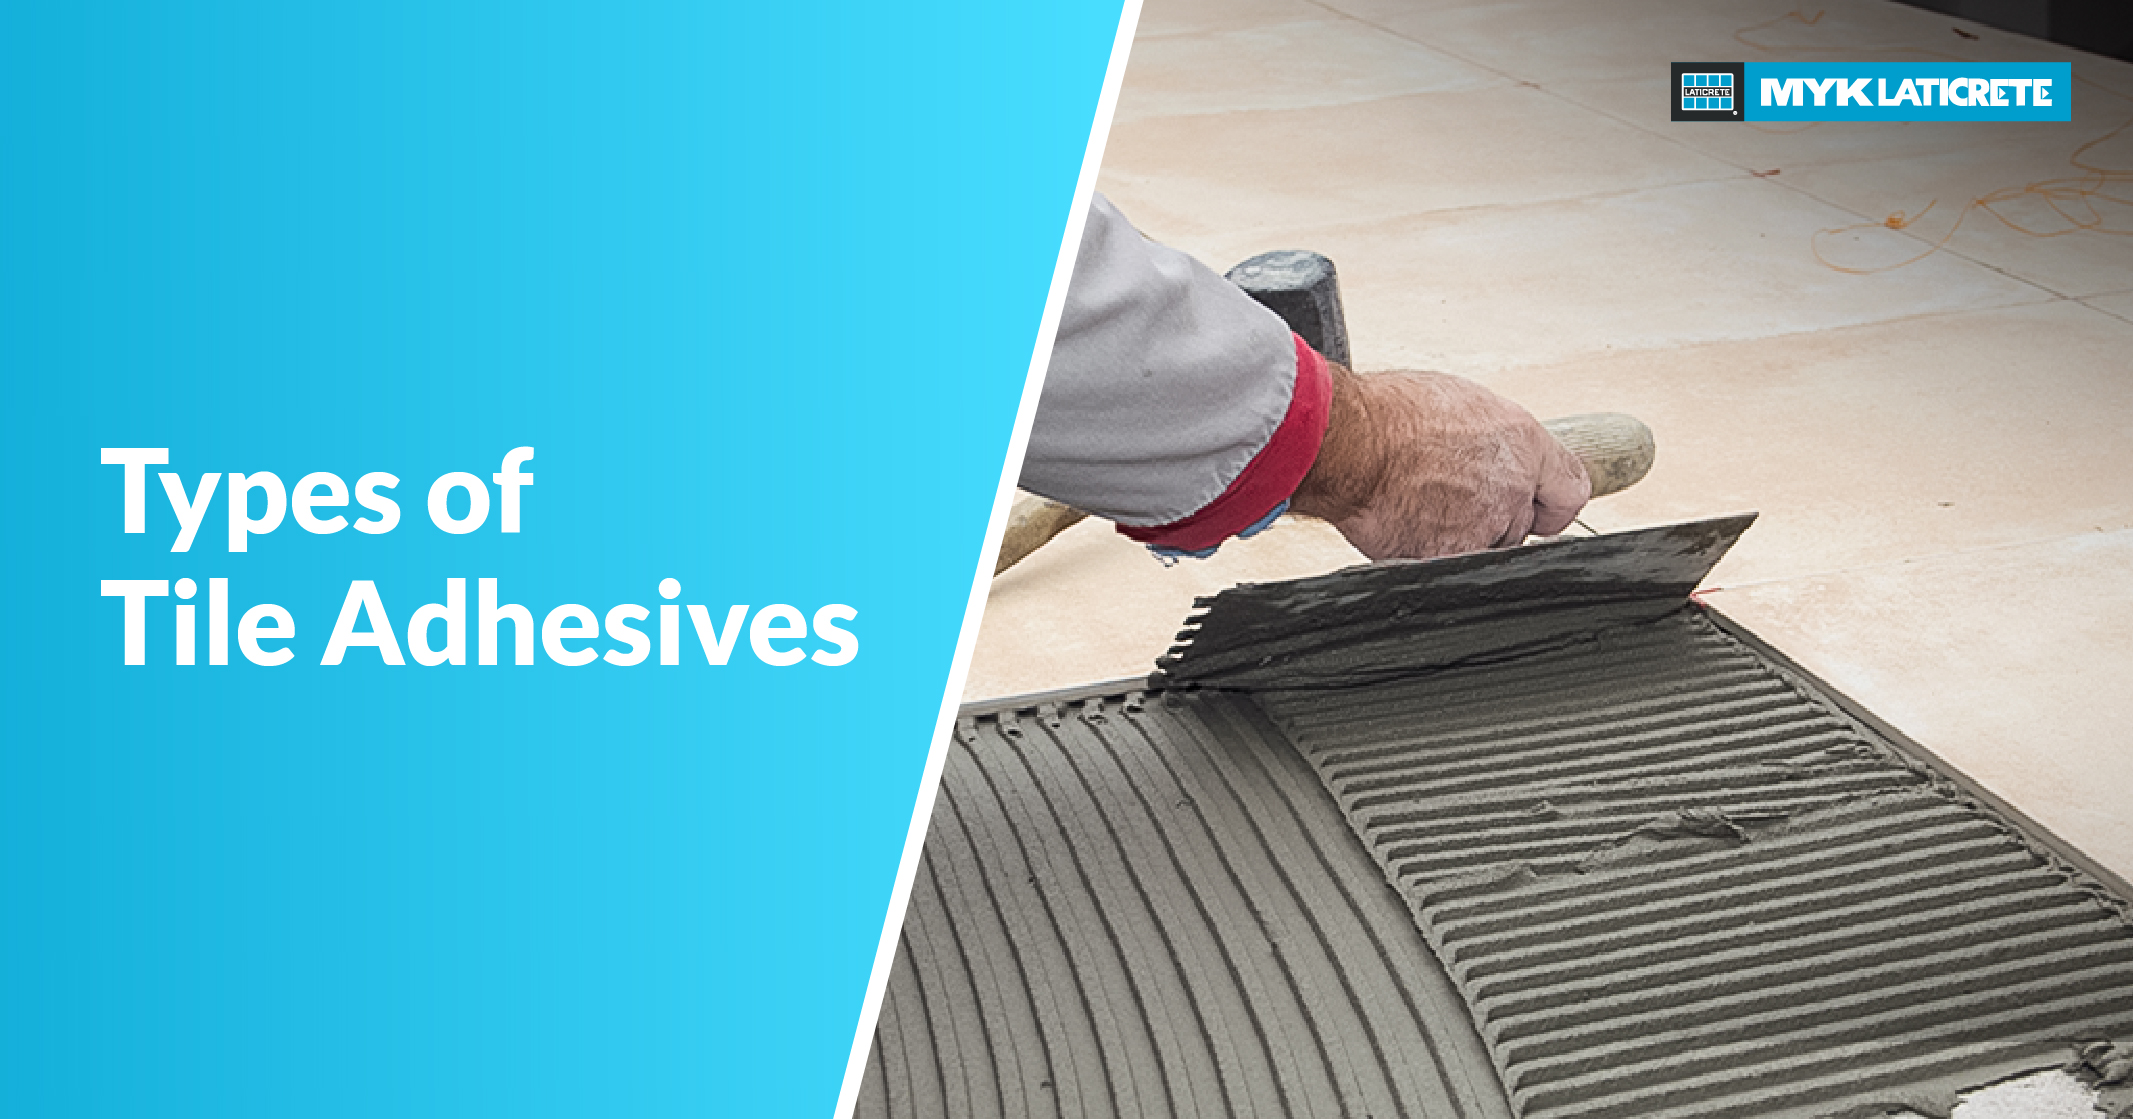
- Use a notched trowel: Do not just “glob” the adhesive on. The notches create air channels that allow the tile to bed in properly.
- Check for coverage: Pull up a tile occasionally to make sure the adhesive covers at least 90% of the back.
- Don’t mix too much: These products have a “pot life.” If you mix a giant bucket, it might start to dry before you reach the end of the room.
Final Thoughts
Choosing the right material is the only way to protect your investment. Whether you are using a basic type 1 adhesive for a kitchen backsplash or a heavy-duty type 4 adhesive for a renovation on plywood, the goal is a permanent bond.
At MYK Laticrete, we specialize in these technical nuances. As pioneers who introduced modern tile fixing to India, our range of tile adhesives is rigorously tested for technical compatibility with specific stones and environments. From epoxy grouts to waterproofing, we ensure that your professional finish stays secure for decades. Visit our product guide to find the perfect match for your next project.




