


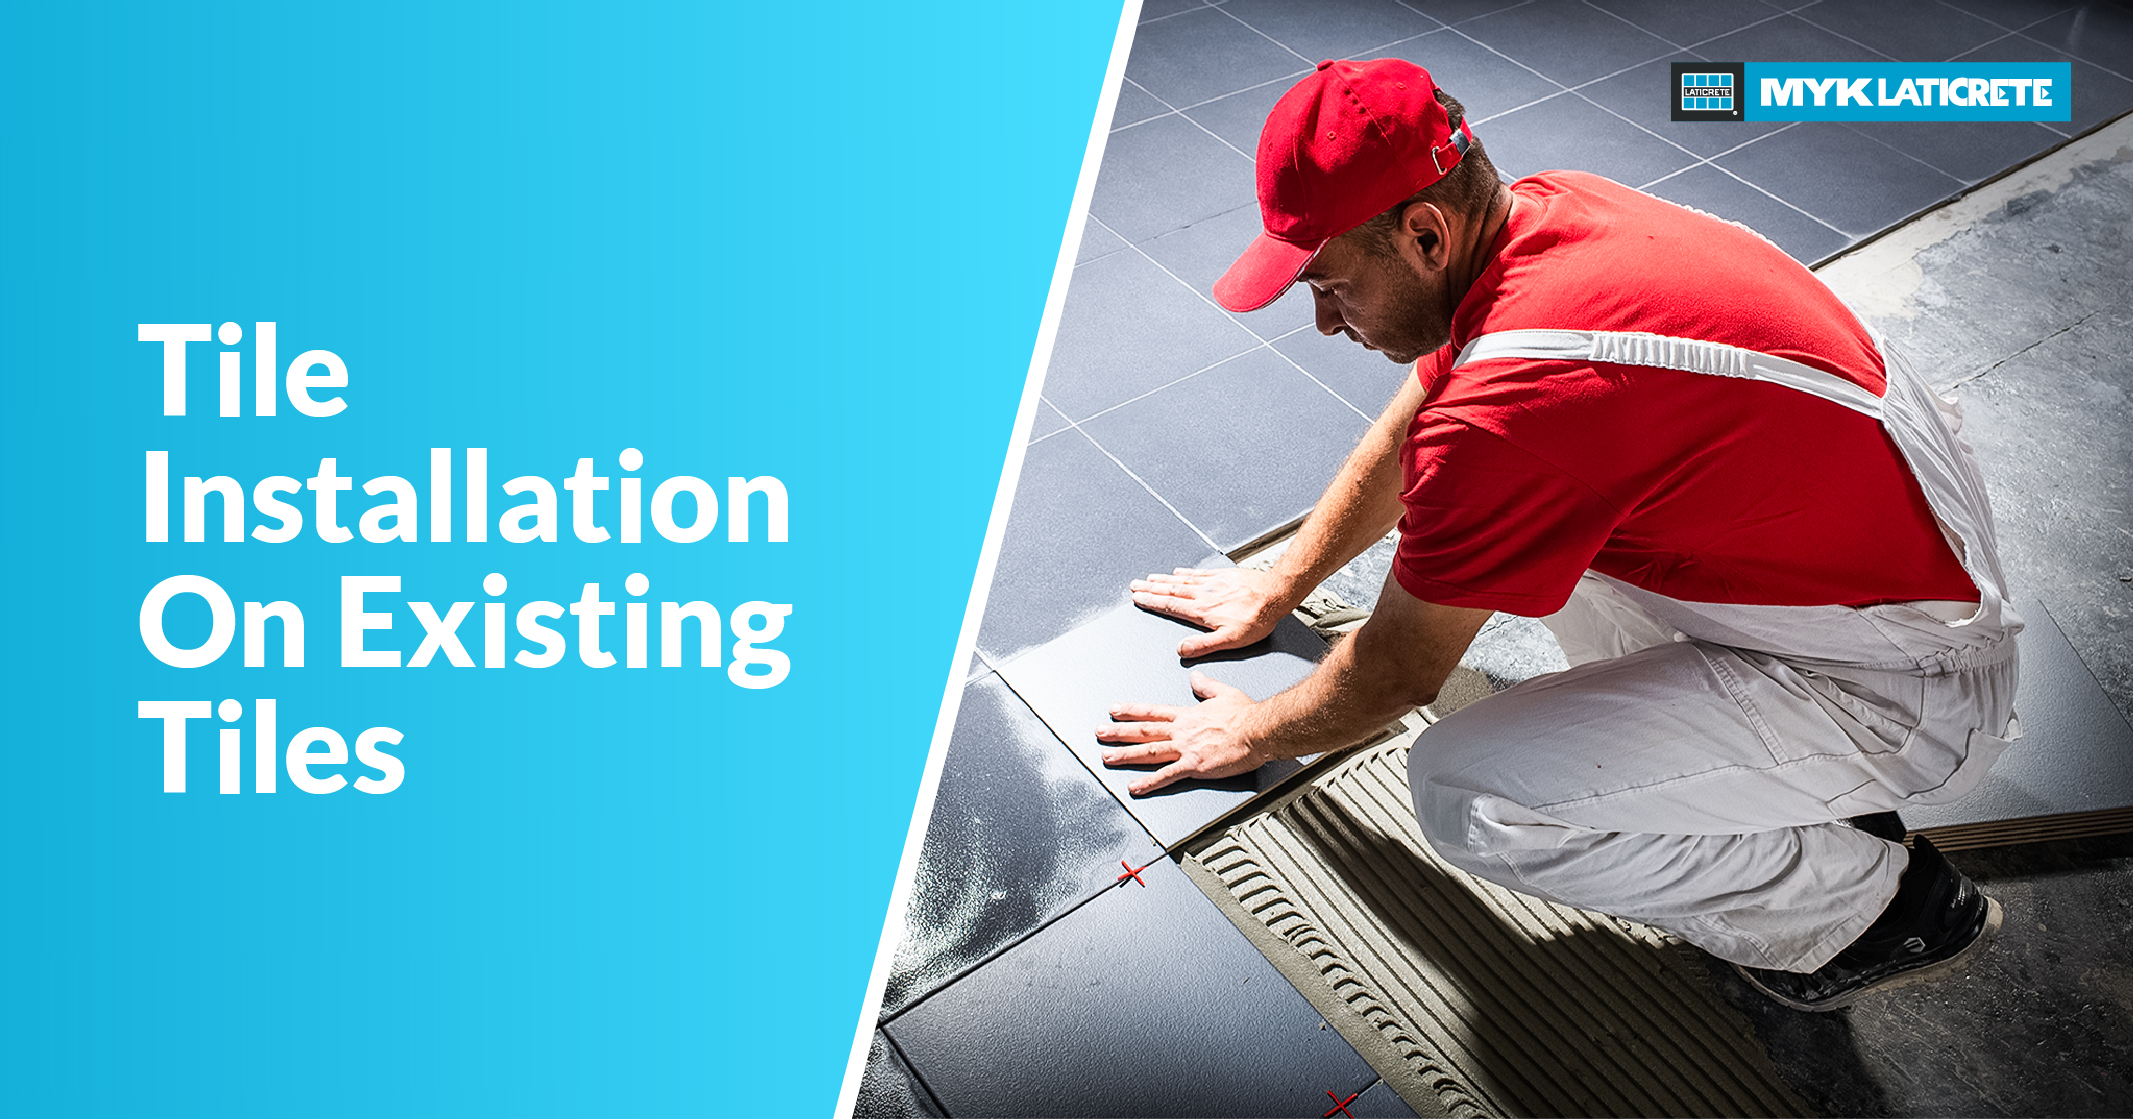
Planning to upgrade old tiles without breaking the existing surface? Tile-on-tile installation can be a practical way to renovate floors and walls with minimal dust, noise, and debris. Also known as tile over tile, this method involves fixing new tiles directly over an existing tiled surface.
However, it should not be treated as a shortcut. The old tiles must be strong, clean and stable. The right tile adhesive must also be used because adhesive bonds the tile to the surface, while grout is applied later to fill the joints and improve the final finish.
Can You Install Tiles Over Existing Tiles?
The first question most homeowners ask is, ” Can you tile over tile”? Yes, but only if the existing tiles are in good condition.
The old tiled surface becomes the base for the new tiles. If it is loose, hollow, cracked or affected by dampness, the new installation may fail over time. Covering a weak surface can lead to loose tiles, uneven flooring, cracks and water-related issues.
Before starting a tile-over-tile floor project, tap the existing tiles gently to check for hollow sounds. Also look for cracks, loose grout, stains, uneven areas and signs of seepage. If only a few tiles are damaged, they can be repaired. If most of the surface is weak, tile removal is the better option.
Many people also ask, ” Can you put tile over tile in a shower”? It is possible, but only when the existing tiles are firmly fixed, and the waterproofing is intact. In showers, bathrooms and kitchens, any leakage or damaged grout must be addressed before installing new tiles.
Preparation Before Installing Tiles on Existing Tiles
Good preparation is the most important part of tile-on-tile installation. Since old tiles are usually smooth and less absorbent, the adhesive may not bond properly unless the surface is prepared well.
Cleaning and Surface Preparation
Start by deep cleaning the existing tiled surface. Remove dust, grease, soap residue, wax, polish, oil and loose particles. This is especially important in kitchens and bathrooms, where surfaces often collect invisible layers of oil, moisture or cleaning chemicals.
A clean surface helps the adhesive bond better. A dirty or glossy surface can weaken the grip and increase the chances of tiles coming loose.
If the old tiles are too shiny or smooth, they may need light roughening or a suitable bonding treatment. This gives the adhesive a better grip. Always follow the adhesive manufacturer’s instructions before using any primer or bonding coat.
Checking for Surface Integrity
Once the surface is clean, check whether it can support another tile layer.
| Surface condition | What it means | What to do |
|---|---|---|
| Loose tiles | Weak base | Remove and repair |
| Hollow sound | Poor bonding below old tiles | Fix before tiling |
| Cracked tiles | Surface damage or movement | Repair the area |
| Uneven surface | New tiles may not sit properly | Level the surface |
| Dampness or stains | Possible leakage | Check waterproofing |
A simple rule helps here: if the old tile surface does not feel reliable, do not build over it.
Choosing the Right Adhesive for Tile-on-Tile Installation
The adhesive is the heart of any tile-over-tile project. The attached document explains that tile adhesive is used to fix tiles onto a surface, while grout is applied later to fill the gaps between tiles. Both are important, but they are not interchangeable.
For tile-over-tile floor work, the polymer-modified tile adhesive or a tile adhesive recommended for existing tile surfaces is generally preferred.
A good adhesive should offer:
| Adhesive quality | Why it matters |
|---|---|
| Strong bonding | Keeps new tiles fixed |
| Flexibility | Handles minor surface movement |
| Moisture resistance | Useful for kitchens and bathrooms |
| Tile compatibility | Works with ceramic, vitrified or porcelain tiles |
| Durability | Reduces chances of failure |
It is also important to remember that grout cannot replace adhesive. Adhesive fixes the tile. Grout fills the joints after the adhesive has cured.
Step-by-Step Guide to Tile Installation Over Existing Tiles
Step 1: Check for cracks, hollowness, looseness and moisture damage. Do not start tiling unless the surface is firm.
Step 2: Remove grease, dust, soap residue and stains. Even a thin layer of dirt can affect bonding.
Step 3: Remove loose tiles and fill the gaps properly. Level uneven spots before applying adhesive.
Step 4: If the existing tiles are glossy, roughen the surface or use a recommended bonding treatment.
Step 5: Dry-lay a few tiles before fixing them. Check alignment, cuts, door clearance, drain slope and skirting height.
Step 6: Spread adhesive evenly using a notched trowel. Apply only as much adhesive as can be covered within the workable time.
Step 7: Place each tile firmly into the adhesive bed. Use spacers to maintain equal gaps.
Step 8: Adjust tiles while the adhesive is still workable. Remove excess adhesive from the joints before it hardens.
Step 9: Do not walk on the surface too early. The adhesive needs proper curing time to develop strength.
Step 10: Once the adhesive has cured, fill the joints with suitable grout. Grout helps reduce water and dirt entry and improves the final appearance.
Advantages of Tile-on-Tile Installation
When the existing surface is suitable, tile over tile offers many practical benefits.
| Advantage | Why it helps |
|---|---|
| Less mess | No major tile breaking |
| Faster work | Renovation can finish sooner |
| Lower noise | Useful for occupied homes and offices |
| Reduced waste | Less debris disposal |
| Cleaner upgrade | Gives old floors and walls a fresh look |
| Practical application | Works well when the base is stable |
For homeowners, it means a quicker makeover. For contractors, it reduces demolition effort. For commercial spaces, it helps minimise disruption.
Conclusion: Quick and Efficient Tile Installation on Existing Tiles
Tile over tile can be a smart way to renovate old tiled surfaces without unnecessary demolition. It saves time, reduces dust and gives floors or walls a fresh finish. However, it works well only when the existing tiles are strong, clean and free from moisture problems.
So, can you put tile over tile? Yes, but only after proper inspection and preparation. The right adhesive must be used to bond the new tiles, and grout must be applied after curing to fill and protect the joints.
When done correctly, tile-on-tile installation offers a neat, durable and efficient upgrade. When done carelessly, it can lead to loose tiles, cracks and avoidable repair costs.




