From the bathroom, kitchen, bedroom to the living room wall, you could fix tiles to any and every room you desire. The market offers us a plethora of tile patterns to choose from. Depending on which room you want to fix tiles to, you can accordingly choose the tile pattern. Fixing tiles to walls is in trend today. A contemporary setting of a home involves tiles in most rooms. Tiles not only add beauty to your rooms but also make cleaning and maintenance easier. Now, before fixing tiles to the walls, you have to prepare the wall accordingly.
Let’s jump into understanding the basics to prepare a wall for tiling. While preparing a wall for tiling some steps have to be followed depending on the surface of the wall. There are basic steps followed by technical experts. You need to focus on the minute details, such as make sure you remove photo hooks, screws, nails or other fittings; get rid of loose plaster and old wallpaper; fill in the gaps in case there are any or any cracks or holes in the walls; make sure you level the wall; wipe the walls clean by vacuuming the dust particles.
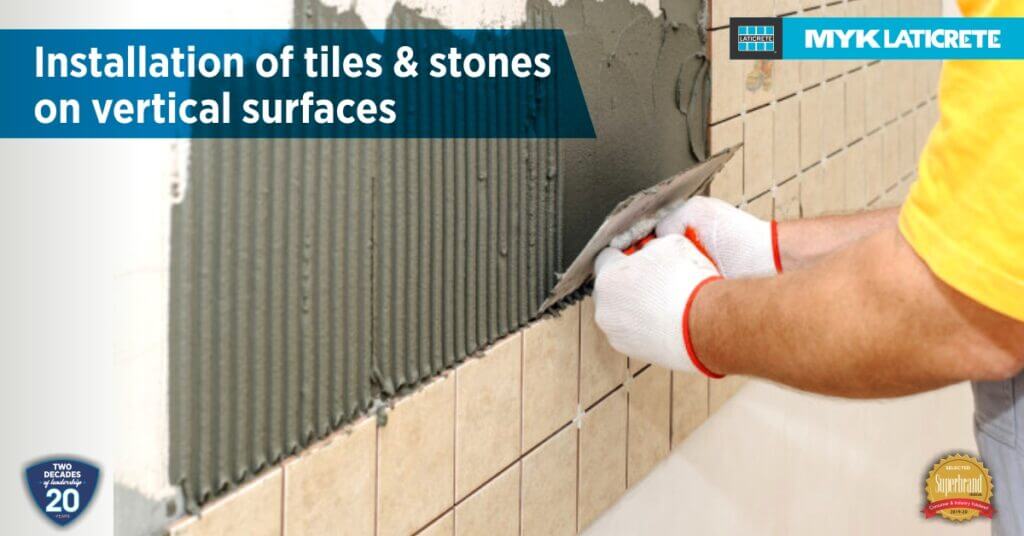
To install tiles or stones on walls, thin-set adhesives are what’s needed most. It’s important to level the walls as it’ll avoid bumps to form and when the wall is levelled it will give the adhesive a firm grip. Understanding the surface is very important. There are specific adhesives used for fixing tiles on various substrates. Let’s further understand the importance of using a notched trowel while installing tiles and stones on different substrates.
While using thin-set adhesives to fix tiles and stones, a notched trowel plays a vital role. If you use notch trowel while using thin-set adhesives you can avoid issues, such as hollow sounds, cracks, chipping of tiles, tenting of tiles, lippage and de-bonding of tiles. Using the right notch trowel for the installation of tiles and stones matters most. The use of a notched trowel will remove the air pockets under the tile which is the root cause for all the tiles de-bonding.
One trowel size does not fit all the tile sizes. The size of the notch trowel comes from the decision of thickness of the bed thickness which is required for tile installation. This in turn depends on the size of tile or stone, substrate evenness, plumb etc. However, the bed thickness must increase with the increase in the size of the tile. There are several sizes of notch trowels available for use with thin-set adhesives: MYK LATICRETE deals with AAC BA 100, AAC BA 150, V notch, Econ 4, Econ 7, B5 trowels for different applications both for cementitious and resinous based adhesives.
It’s important to use the ideal notch trowel for any thin-set application as it ensures the best durability of tile and stone installation. Additionally, we can also save on the adhesive wastage and, hence, save the cost of installation of tiles.