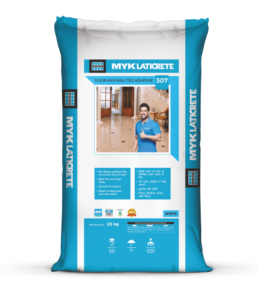
LATICRETE® 307 floor and wall tile adhesive is a smooth and creamy thin-set Adhesive for installing small to medium format ceramic wall and floor tiles in interior areas. For improved performance and exterior use, fortify with LATICRETE® 73 Crete Admix.
Features & Benefits
- For fixing ceramic tiles on interior floor & wall
- Ideal for new floor tiling
- Smooth & Creamy
- Single component - Just add water
Product Details
 Coverage
Approx. 55-60 sq.ft. per 20 kg bag with a ¼” x ¼” (6mm x 6mm) square notch trowel for a bed of 3mm.
Color
Grey & White
Certification
- ANSI: 118.1 T
- EN 12004/ISO 13007:CIT
- IS 15477:2019: TYPE 1 T ADHESIVE
- VOC: Practically Nil
How to apply
- If a plaster/leveling mortar bed is applied, ensure that it is cured for at least 7 days to achieve proper strength before application of tile adhesive for installation of tile
- Ensure the substrate is clean and free from impurities like dust, dirt, debris, oil, grease, curing agents, loose plaster etc
- Dampen the wall before application of thin set adhesive
- Clean the back of tile for any dust or coating
- Wet the surface and remove the excess water before applying the adhesive. Ensure the area is shaded from sunlight. The adhesive shall be applied with the flat side of the trowel using a scraping motion to work the material into good contact with the surface to be covered.
- Additional mortar is then applied with the notched edge of the trowel.
- When installing large tiles, spread adhesive onto the back of tile in addition to trowelling material over a surface to be tiled. Select proper type of notched trowel.
a) Thin Tiles upto size 300 X 300 mm (1’X1’), use a square notched trowel of size 6mm X 6mm to provide a total thickness of 3mm
b) Large Porcelain Tiles upto 450 X 450 mm with ribs, use a square notched trowel of size 6mm X 6mm and back butter the tiles with the same adhesive to a thickness of 1-1.5mm to provide a total thickness of 4.5mm
c) Large Porcelain Tiles upto 600 X 600 mm (2’X2’) with ribs, use a square notched trowel of size 6mm X 9mm and back butter the tiles with the same adhesive to a thickness of 1-1.5mm to provide a total thickness of 6mm
- The most important standard to keep in mind is to insure that the piece of tile is completely bedded in the mortar or adhesive with 100% coverage.
- Rear face of tiles (especially Porcelain tiles) should be cleaned with damp sponge to clean all the dust. Do not saturate in water.
- Excess mortar on adhesive shall be cleaned from the surface of the stone with wet cloth or sponge while the mortar is fresh.
- Cement Mortar Beds
- Existing tiling on floor & wall Ceramic Tile and Stones (when mixed with LATICRETE® 73 Mortar Admixture)
- Cement Plaster
- Brick Masonry
- Terrazzo


